Friday, January 10, 2014

Interaction project (In the process of making punk dolls)

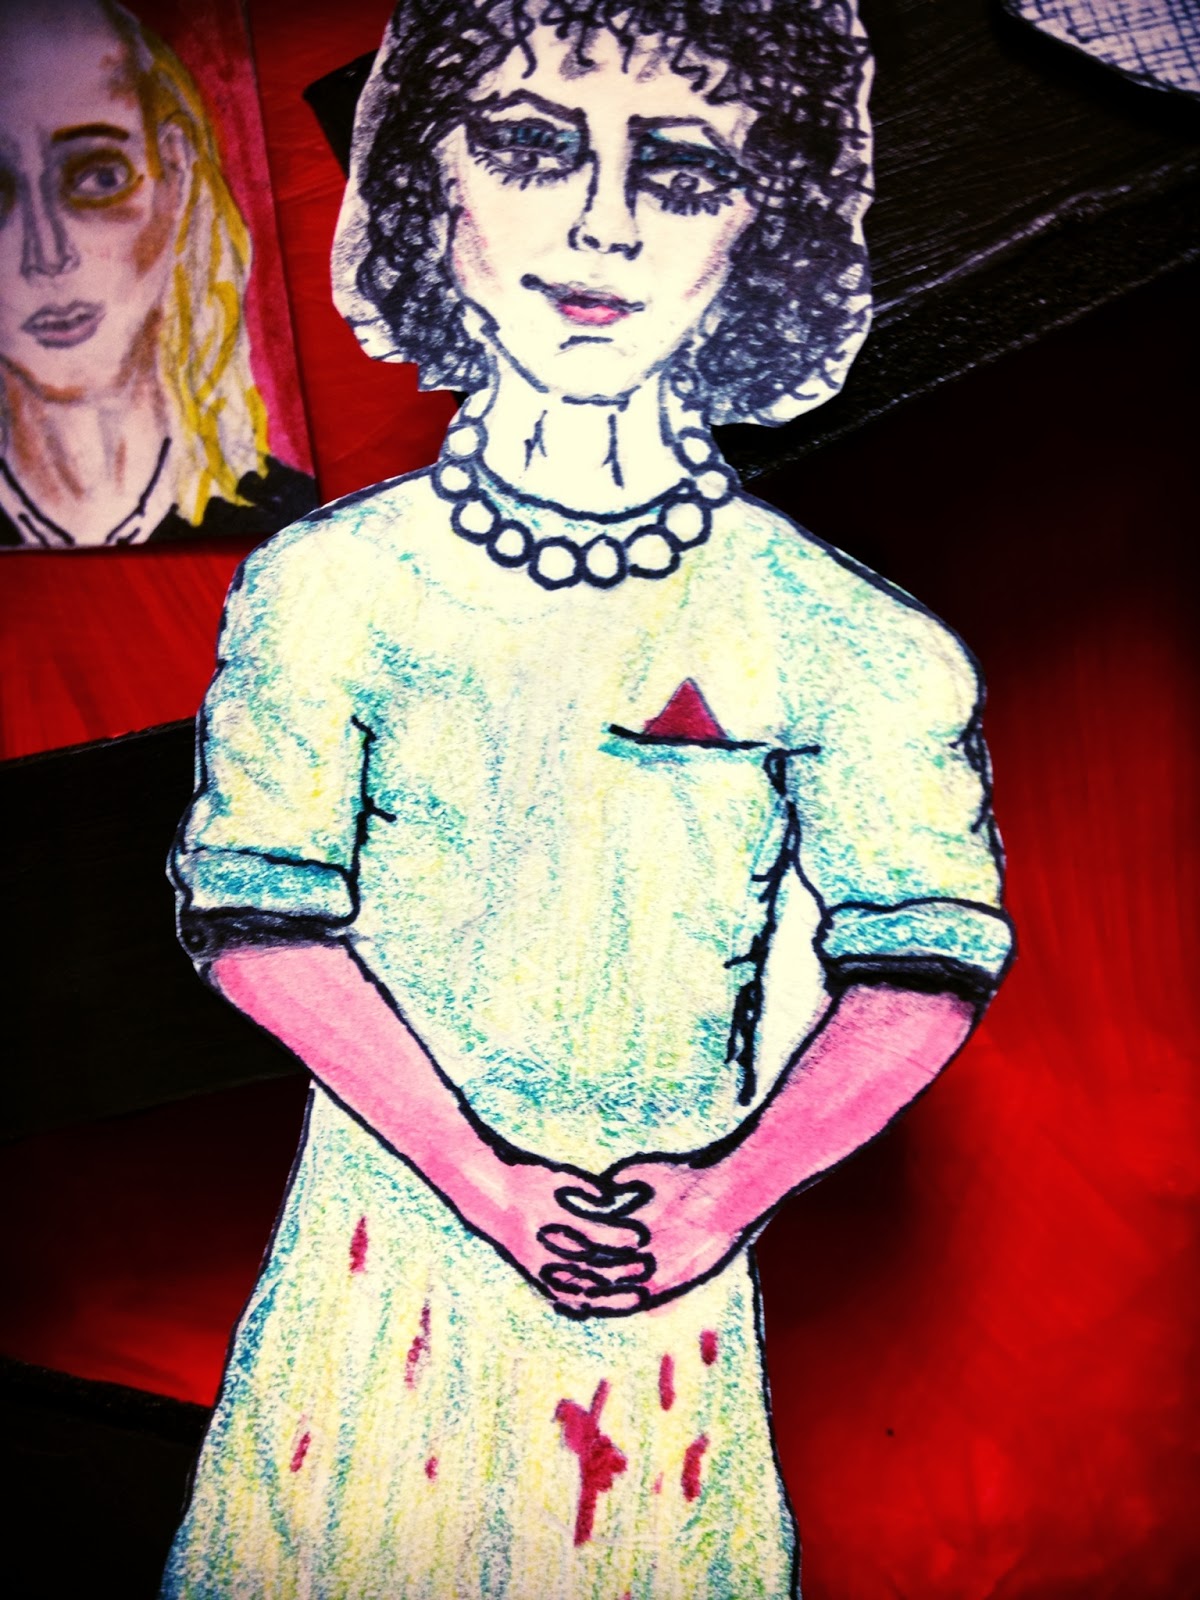
For Art III we were given the choice to either make an interaction or a re-do project. I came up with several ideas for both projects and decided to make little punk dolls for an interaction project. I have not finished my project, but I will. Once I finish I'll post. I plan on making a Sid Vicious, Buzz Osbourne, Henry Rollins, Kathleen Hanna, Joey Ramone, and possibly others! as you see I have started making a Sid Vicious doll below which kinda resembles a voodoo doll.

Monday, January 6, 2014

"Let There Be Lips" Rocky Horror Picture Show marble drop

Recently sculpture/ceramics class had to make marble drops! Marble drops are contraptions that you drop a marble in and are made to lead through a path like a maze. They are also a form of interaction art! It took me a while to come up with a cool theme for this project. I tried to move away from the cliche type of ideas and decided to use one of my favorite movies for the theme, Rocky Picture Horror Show. I thought this would be a great theme because the movie has many neat subjects in it as well as interesting characters that I could incorporate into my marble drop! This project was a bit challenging for me because there was just so much to do. I know that many people were working in groups and I thought about doing that, but then I thought it would be a good challenge for me. So I went for it! The materials I used were foam board, paper, hot glue, acrylic paints, and glitter. First I measured out the pieces from the foam board and used hot glue to put them together. Then I looked up images from the movie to get an idea of what things I would incorporate into the marble drop. I drew out the characters and then glued them in. I think the most difficult part of the project was cutting out the measured pieces with the exacto blade, but besides that things went pretty well.



Texture and Pressure.

I went through many ideas for this project and finally came up with one I loved! I decided to make a skeleton bowl. This idea stuck out to me the most because the idea of pressure put on bones, plus there is texture in bones! I am also fascinated with skeletons and figured this would be the perfect opportunity to incorporate one of my interests into my art. For this project, I used a bowl mold to help shape the bowl and make it nice and even. After I smoothed out the clay, I began to make the bone pieces and shape them into a skeleton hand. I used score and slip to put them onto the bowl. Then I used carving tools to give the bones more texture. For the color scheme I decided to use green and turquoise glaze. This project went pretty well for me and hardly had any challenges even though I had never made a skeleton bowl or even a bowl for that matter.


Perspective. R.I.P Lou Reed


For my perspective project, I decided to make a series of images to create one. I chose the recently diseased Lou Reed for my image. First I measured out the pieces I would paint on as well as the base. Then I placed the pieces in positions I wanted the projection to go. I taped them down and traced the projection of Lou. After I painted the images, I glued them down to the base. I think this project was one of the more challenging ones for me.  I had never done a perspective project like this. Tracing the objects in the images was hard even though the pieces were taped down, they would move. I actually ended up erasing more of the tracings and redrawing them by eye. The reason I chose this solution for my project was because it's something I had never done and I always wanted to try it so I did it. This was definitely a challenging project, but I did enjoy it as well as learn from it.

Sunday, December 1, 2013

Layers Art Project


The Idea of layers is to incorporate layers into your art! For example: A sculpture of threads or a wall of dolls' heads stacked on top of each other. You can do anything! For my project I made a sheet with layers of gloss medium, colorful things, and eyeballs. I was inspired by Mrs. Koefler last year when I saw she was using gloss medium on the windows and adding neat images and wire to it. I was also inspired by a family friend named Robert Schatte who is an amazing artist! He makes many different things, but one of them that stuck out to me were these interesting walking stick/canes. He would collect these thick branches, sturdy enough for using to walk with, sand them down, dye the wood with vibrant color, make a hole at the top and add a very detailed eye ball, then coat the stick with gloss. I wanted to create these two inspirations into one, but at the same time making it my own. I started by finding a hard glass surface to layer the gloss medium, then I added colorful strips of tissue paper and threads. For the eye ball part I painted wooden balls to look like real eye balls and added thread for viens. Although this project had its challenges, it might be my favorite so far! Things I used to make my project: Gloss medium, different strips of colored tissue paper, threads, wooden balls, and acrylic paints.

 These two pictures are of Robert Schatte's work.

R E L I E F


Relief is a technique in sculpture. The idea of relief is to create depth in the piece. The different types are high relief, low relief, mid-relief, sunk relief, bas-relief, and counter relief. I chose to make high relief tiles representing a guitar. This was a bit challenging and time consuming, but I think it turned out nice. For my project I used clay, carving tools, and acrylic paints mixed with water.

TIME AS AN ELEMENT!


For this project we had to make art that represents time as an element! I came up with several ideas, but this one stood out to me the most. I decided to recreate the soap from the movie " Fight Club," but more gory with blood from fighting. My theory is that over time when the people fight in the club and use the soap to clean up, the soap will get more worn down as well as bloody. This project was definitely challenging. I have never carved soap before so that was a definite risk. I practiced on a couple soaps before making the final soap. I would say that the soap could have been better, but for the most part I think it turned out well. For my project I used pink dove soap, carving tools, red acrylic paints mixed with water, and soap suds.